jBPM Introduction
Following the Decision Manager series on my blog site, in this post we introduce the basics for jBPM (Java Business Process Management). jBPM allows to write our business logic using flow charts on the latest BPMN 2.0 standard specification. We’ll be doing the same example as our previous post.
The underlying environment in jBPM allows devs to deploy/execute business processes and business analysts to check what is going on with the solution.
Installation
jBPM has an Eclipse plugin and web based tool to edit the flow charts of your business. However, we’ll be using the web based approach along this post.
So, first thing we need to do is to deploy a jBPM server via docker-compose (image from here):
docker-compose.yml:
version: '2'

volumes:
  mysql_data:
    driver: local

services:
  mysql:
    image: mysql:5.7
    volumes:
    - mysql_data:/var/lib/mysql
    environment:
      MYSQL_ROOT_PASSWORD: root
      MYSQL_DATABASE: jbpm
      MYSQL_USER: jbpm
      MYSQL_PASSWORD: jbpm
  jbpm:
    image: jboss/business-central-workbench-showcase
    environment:
      JBPM_DB_DRIVER: mysql
      JBPM_DB_HOST: mysql
    ports:
      - 8080:8080
      - 8001:8001
    depends_on:
      - mysql
  kie-server:
    image: jboss/kie-server-showcase
    environment:
      KIE_SERVER_LOCATION: http://kie-server:8080/kie-server/services/rest/server
      KIE_SERVER_CONTROLLER: http://jbpm:8080/business-central/rest/controller
      KIE_MAVEN_REPO: http://jbpm:8080/business-central/maven2
    ports:
      - 8180:8080
    depends_on:
      - jbpm
And start it up:
docker-compose up
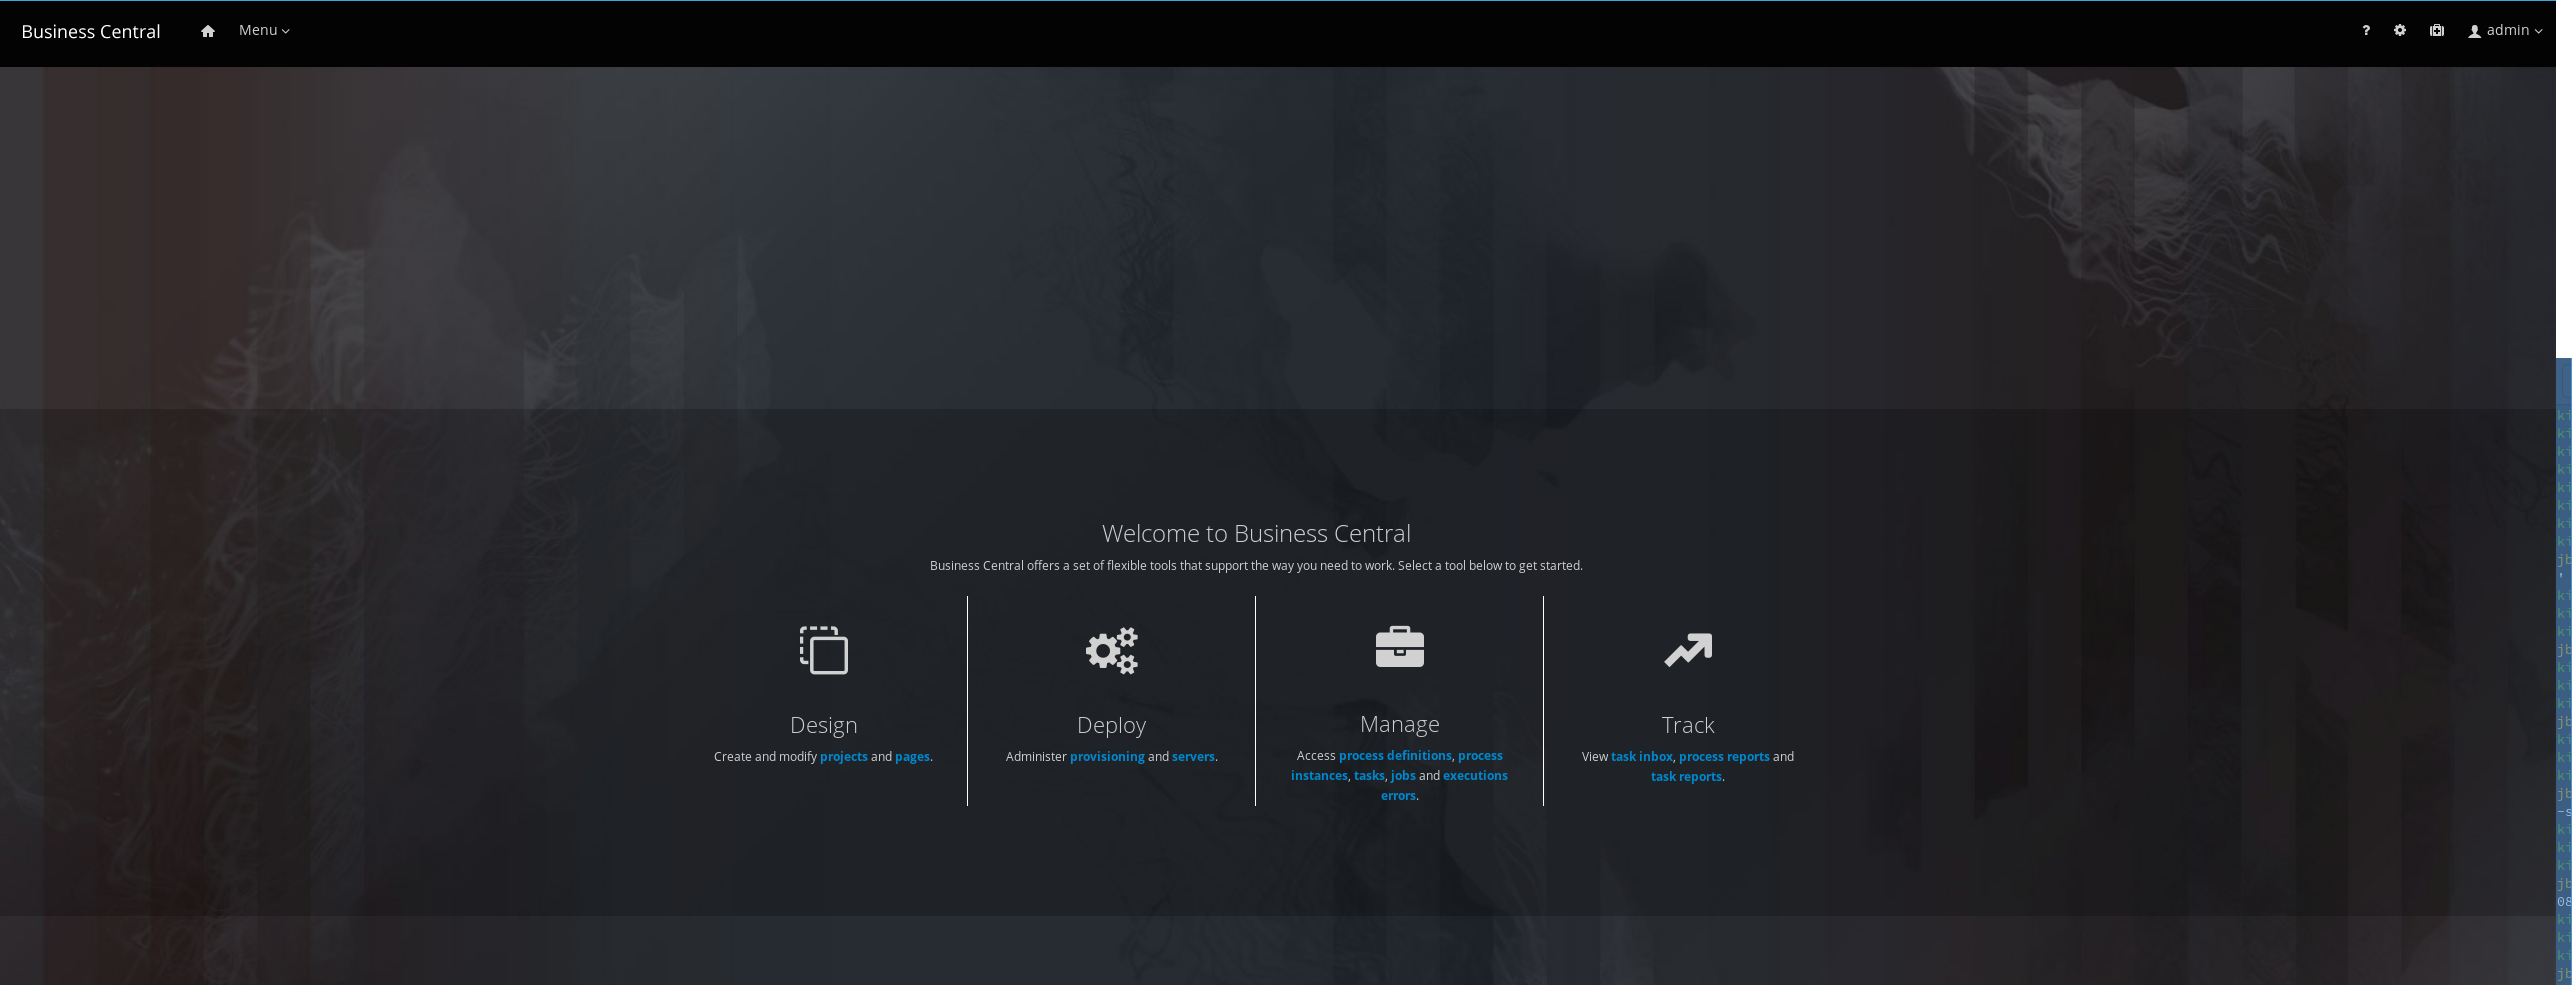
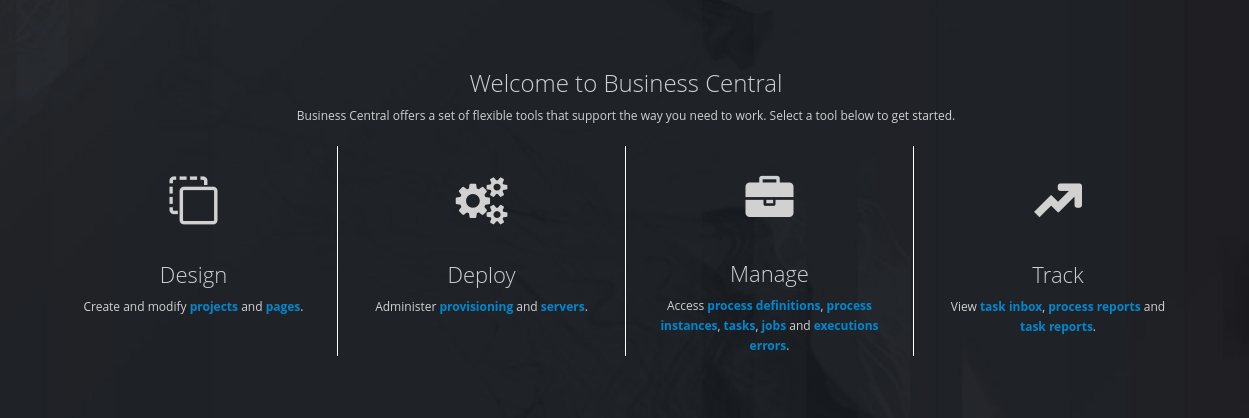
Now, we have our jBPM server with a persistent storage in MySQL. We can browse our server in http://localhost:8080/business-central and use the predefined user admin/admin.
We have deployed the next artifacts:
- MySQL: the persistent storage of our data
- Kie Server: the executing server that will instantiate and execute the rules.
- jBPM Workbench: this is the drool workbench we talked in the Drool post.
Learn by example
As we said in the introduction, we’ll be doing the same example in the previous post: a rule to decide which person is older than Jose.
Starting from the business central, let’s create a new project by selecting projects.

Then, name the project “Older Age”:
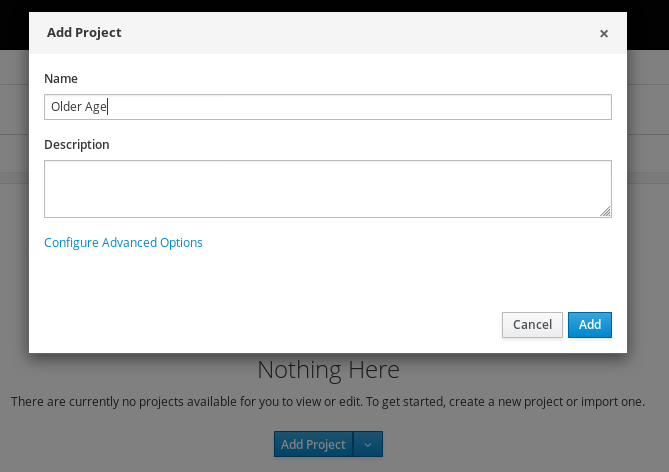
And click on Add.
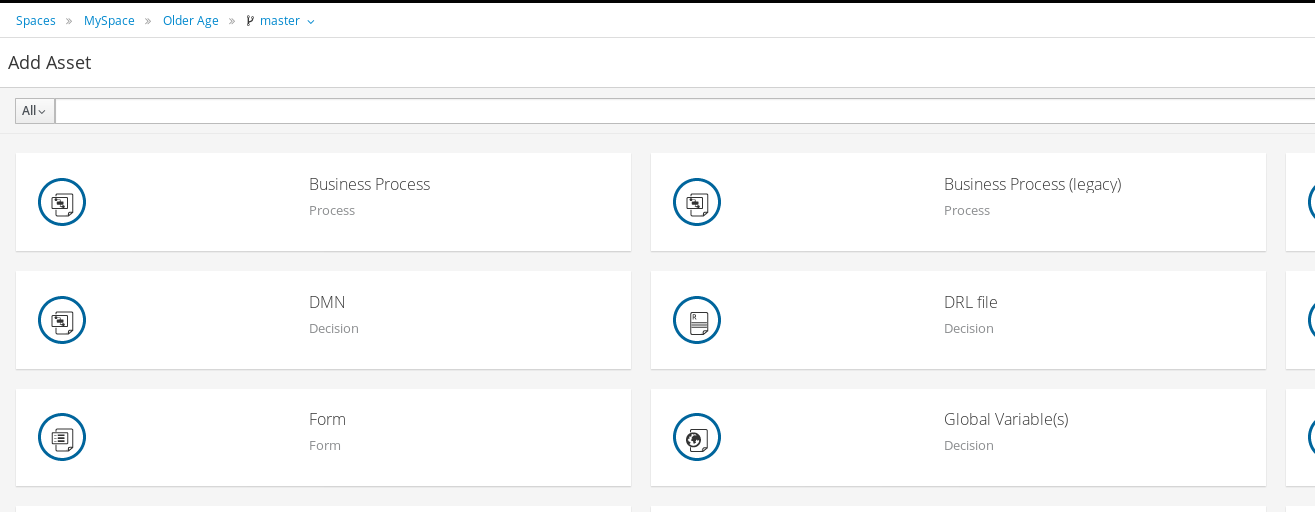
Assets
We have already created our project, now we need to introduce the assets. An asset is a versioned component of different kind: process, data object, test scenario, drool script, … The important feature around assets is that they are versioned within an internal GIT repository and allow collaboration among different members in the team.
For this example, we’ll be adding a couple of assets:
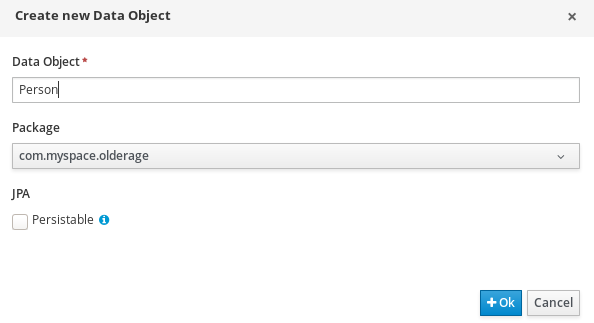
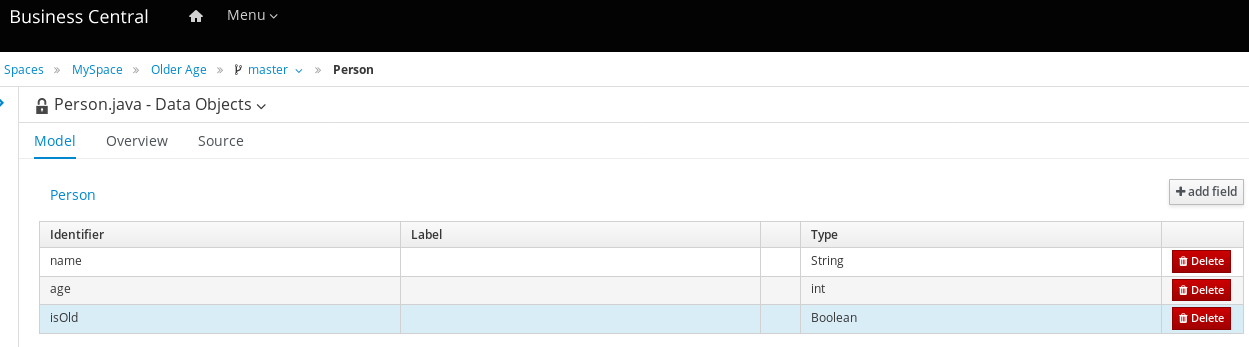
- The Person Data Object:
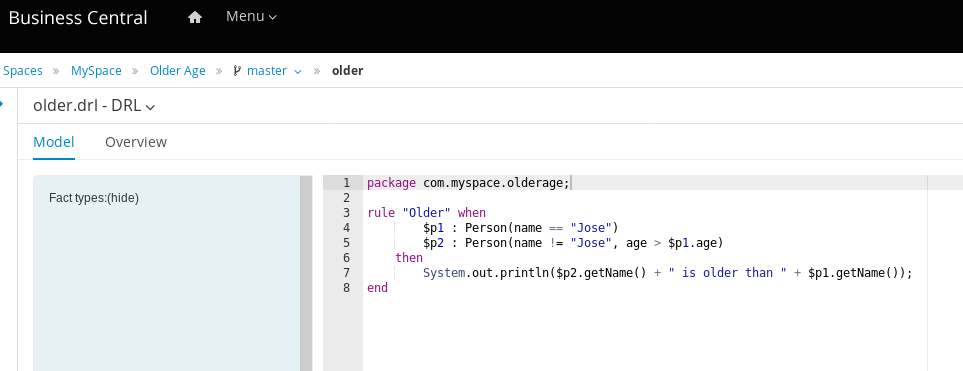
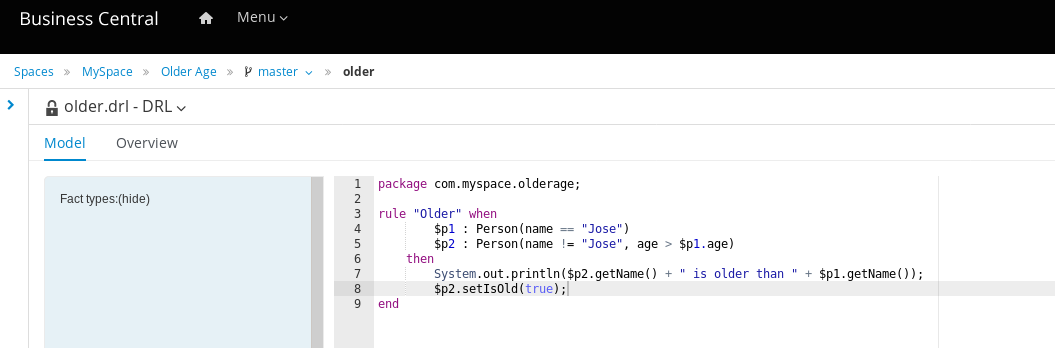
- The drool rule:
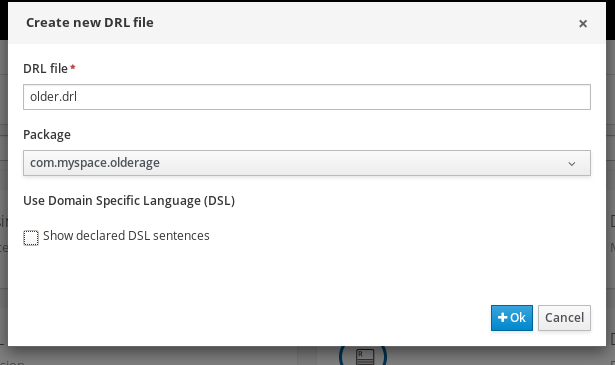
And let’s create our rule (more about Drool rules in here):
Test our Project
We need to add a new asset called “Test Scenario” and provide a couple of scenarios:

The first scenario is to check whether we detect older persons and the second scenario is the opposite.
If we run the test, it will fail since our rule is not setting the isOld field in the rule so far. Let’s fix it! We need modify the rule asset we added previously:
Now, if we save and go back to the test scenario, if we click on the run scenarios, the test will pass now.
Deploy our Project
Finally, we can build and deploy our Project in our execution server, here we have another important concept: kjar. Basically, all the assets within our project will be packaged into the same Maven project. This maven project will contain a kmodule descriptor with all the information required for the executors to work with. The generated artifacts will be installed in an internal repository within the business manager and available for all the executors.
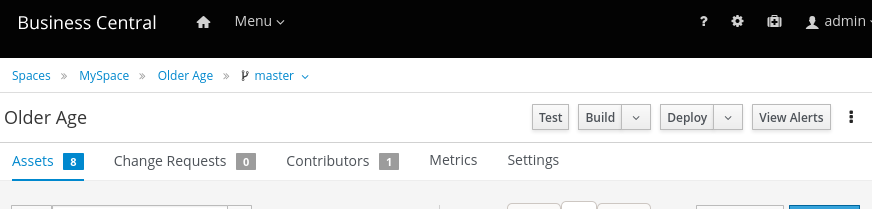
After we click on Deploy, we should see the next in the logs:
jbpm_1 | 11:46:39,657 INFO [org.kie.server.controller.websocket.notification.WebSocketNotificationService] (default task-16) WebSocket notification about change requested on server ServerTemplateKey{id='kie-server-4c3043051b7e', name='kie-server-4c3043051b7e'} with container spec ContainerSpec{releasedId=com.myspace:OlderAge:1.0.0-SNAPSHOT, configs={RULE=org.kie.server.controller.api.model.spec.RuleConfig@c81de3a, PROCESS=org.kie.server.controller.api.model.spec.ProcessConfig@bd2a4c03}, status=STARTED} ContainerSpecKey{id='OlderAge_1.0.0-SNAPSHOT', containerName='OlderAge', serverTemplateKey=ServerTemplateKey{id='kie-server-4c3043051b7e', name='kie-server-4c3043051b7e'}} with following result [Container{serverInstanceId='kie-server-4c3043051b7e@kie-server:8080', resolvedReleasedId=com.myspace:OlderAge:1.0.0-SNAPSHOT, messages=[org.kie.server.api.model.Message@6ce5dbd], status=STARTED} ContainerKey{serverTemplateId='kie-server-4c3043051b7e', containerSpecId='OlderAge_1.0.0-SNAPSHOT', containerName='null', url='http://kie-server:8080/kie-server/services/rest/server/containers/OlderAge_1.0.0-SNAPSHOT'}]
Note the project url: http://kie-server:8080/kie-server/services/rest/server/containers/OlderAge_1.0.0-SNAPSHOT which we’ll use to run our project via curl:
curl --location --request POST 'http://localhost:8180/kie-server/services/rest/server/containers/instances/OlderAge_1.0.0-SNAPSHOT' \
--header 'Content-Type: application/json' \
--header 'X-KIE-ContentType: JSON' \
-u 'kieserver:kieserver1!' \
--data-raw '{
      "lookup" : null,
      "commands" : [ {
        "insert" : {
	          "object": {
		          "com.myspace.olderage.Person": {
		            "name": "Jose",
		            "age": 25
		          }
		        }
	        }
        },
        {
        "insert" : {
          "object": {
	          "com.myspace.olderage.Person": {
	            "name": "Victor",
	            "age": 26
	          }
	        }
        }

      }, {
        "fire-all-rules" : { }
      } ]
    }'
Response:
{
  "type" : "SUCCESS",
  "msg" : "Container OlderAge_1.0.0-SNAPSHOT successfully called.",
  "result" : {
    "execution-results" : {
      "results" : [ ],
      "facts" : [ ]
    }
  }
}
If we are using Postman, the parameter “-u” is the basic authentication.
Process Definitions
So far, we have deployed our project and execute via REST against directly the kie server node. However, this is not the idea of jBPM though. We don’t need to know each kie server node to execute our logic.
Instead, jBPM is designed with composing processes to trigger actions (including manual user actions):
- processes can be started either manual (via REST or web form - yes!) or automatic (after receiving an event - email, queue, …)
- actions can be either manual (user tasks via either auto generated forms or custom forms) or an automatic process (a drool rule or master table decision)
So, we’ll be dealing with input and output variables and parameters all around. We orchestate these processes and actions using flowchart business processes.
BPMN
Before going forward, please take a look to BPMN modelling:
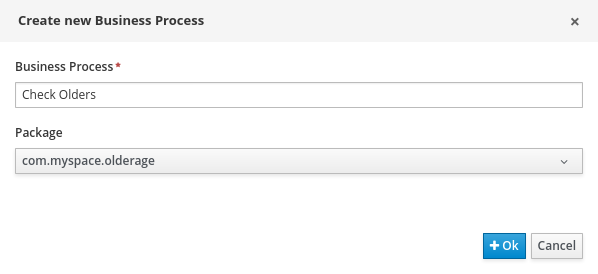
Business Process Asset
Let’s start designing our business process by selecting this asset:
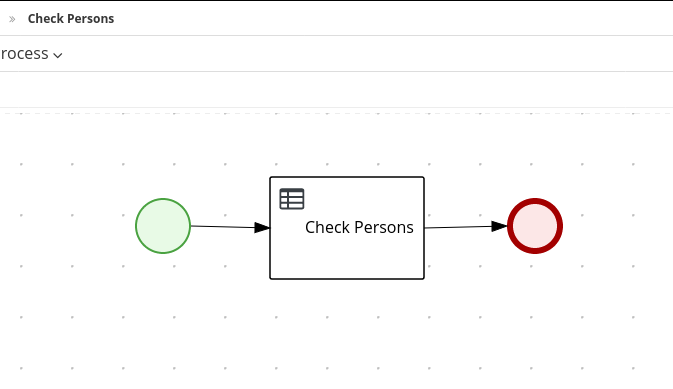
And then we add a Start event, a business rule task and an end event:
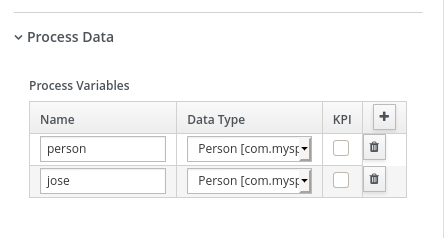
Our business process needs a couple of variables: (1) the person which will play the role of Jose (to compare with) and (2) the person which will play the role of the other. So, select the business process properties and add these variables under the “Process Data” section:
This is a very important step since jBPM will auto generate the forms based on these input variables. How can we customise this form? Adding a new type of asset called “Form”:
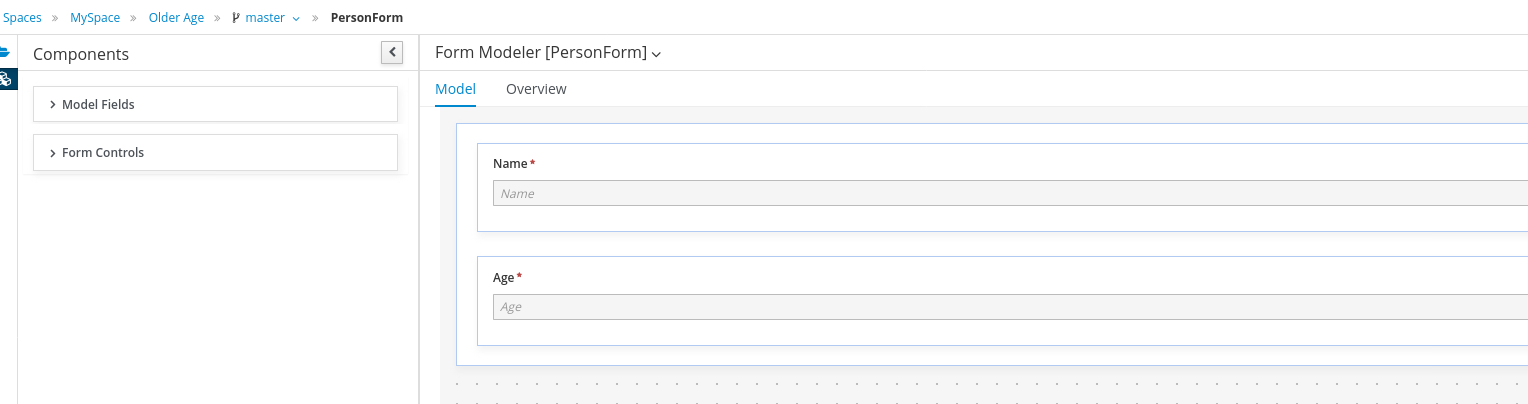
For example, we don’t want the field “isOld” to appear in the form since our drool rule will manage this field.
Going back to our business process asset, we need to configure a bit the business rule component by specifying:
- the Data Assignments: we need the two variables that we added in the process properties in here:
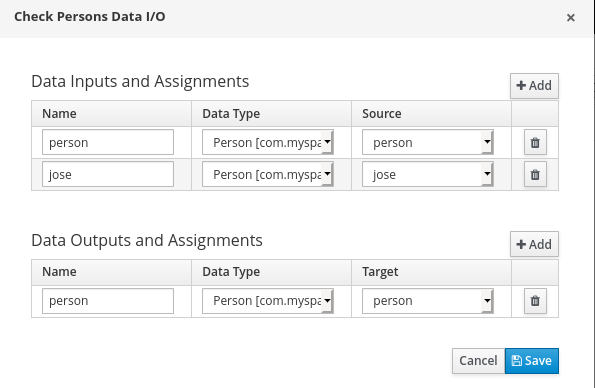
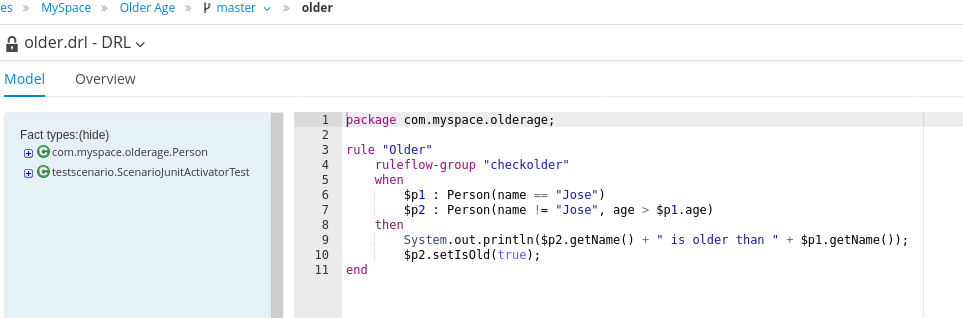
- the Implementation/Execute: we will select the DRL language and create a rule flow group called “checkolder”
| Note we specified the rule flow group called “checkolder” which means that jBPM will execute all the DRL rules under this group. BUT our rule was not registed under this group… so we need to update our drool rule for doing this: |
Now, we can build and deploy again our Project and that’s all! We could add a log or to send a notification afterwards, but let’s keep this the simpler the better.
Process Instance
We have now our business process, but how can we execute it? When creating our business process, jBPM also creates a process definition. This process definition is used to create process instances. It’s similar to methods: we have a process definition or a method and we invoke this method (creating a process instance).
Click on “process definitions” and we’ll see the following:
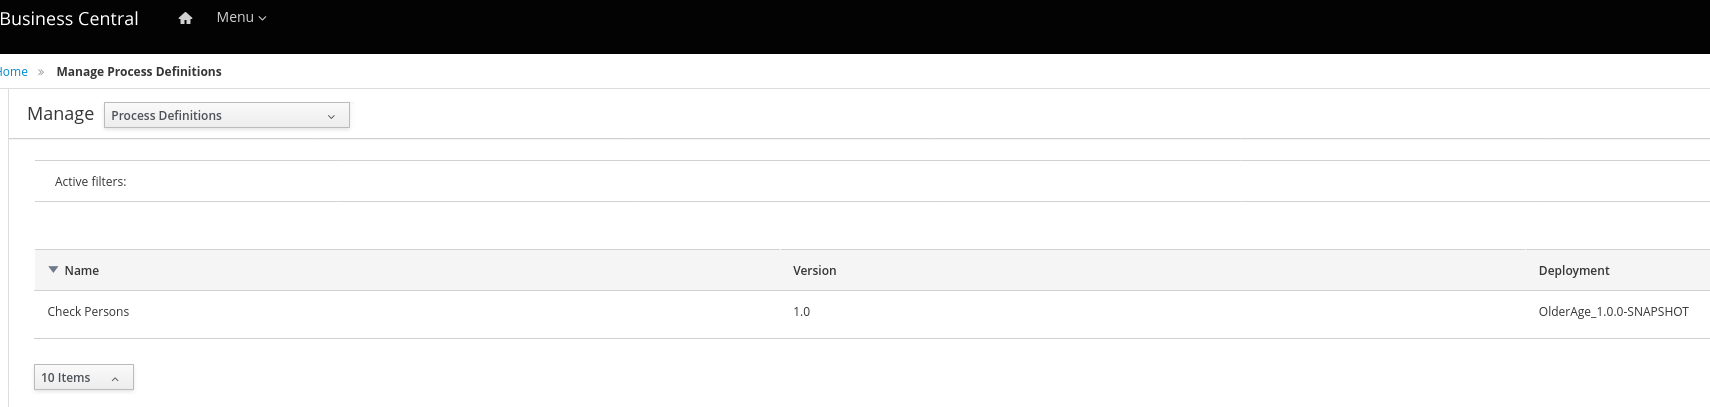
If we select the “Check Persons” project definition, now we can click on the “New Process Instance” button. Now, we’ll be prompted with the person form as expected:
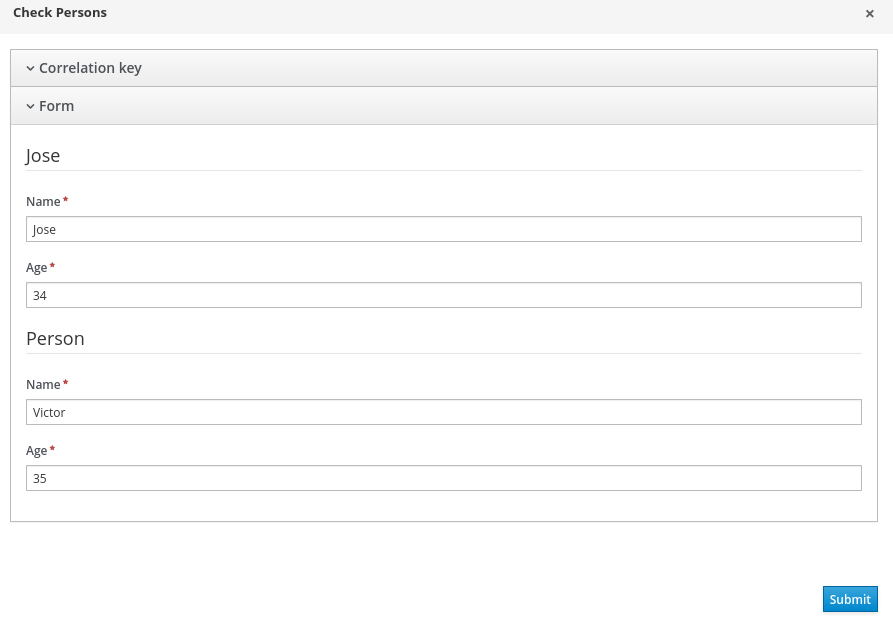
After clicking on the “Run” button, we’ll see our process worked fine and we should see our script trace in the logs:
kie-server_1 | 08:29:27,019 INFO [stdout] (default task-1) Victor is older than Jose
Conclusions
There are more features that were out of scope for this post and we’ll revisit soon:
- Pluggable persistence and transactions based on JPA / JTA.
- Pluggable human task service based on WS-HumanTask for including tasks that need to be performed by human actors.
- Management console supporting process instance management, task lists and task form management, and reporting.
- Optional process repository to deploy your process (and other related knowledge).
- History logging (for querying / monitoring / analysis).
- Integration with various frameworks such as CDI/EJB, Spring(Boot), OSGi, etc.
Credits to: